
How connect Vpecker Easydiag diagnostic tool to WIN 8/ WIN 10?
Step 1: Connect Bluetooth Vpecker Easydiag to laptop. Make sure the Bluetooth icon show on the right bottom corner taskbar of the laptop screen.
Step 2: Adding Bluetooth device to the computer: click the icon of the Bluetooth, it will show the interface like the following picture 1, then click “Add a Bluetooth Device”.

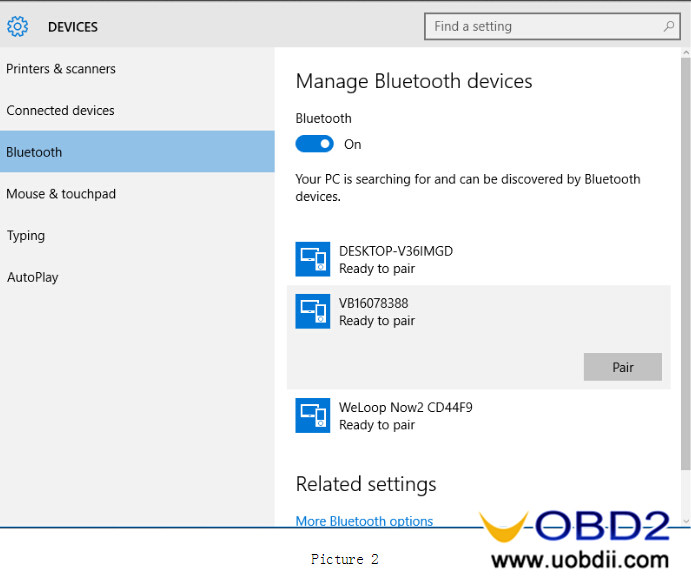
Step 3: Choose and click “Pair” to “VB16078388” Bluetooth device in the searching Interface as the following Picture shows.
Step 4: Now you need enter the pairing code (pass code) manually. Input the default pairing code “1234”, click “Next” to pair.

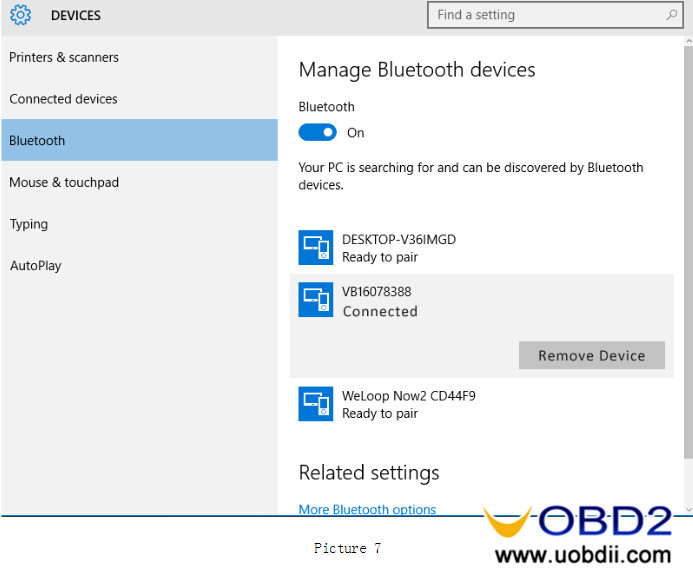
Step 6: Wait a while and you will see VB16078388 is connected. It means the Bluetooth device has been added successfully to Windows 8 or Windows 10 laptop.

P.S. If Bluetooth Vpecker Easydiag has been added before, and you want to add it again, please delete it first. The steps are as follows:
1. Click right bottom Bluetooth icon, select “Show Bluetooth Device”.

- Go to “Device”/ “Setting”, find “Bluetooth”, and click the VB16078388 Bluetooth to remove or delete it.
If you want to know more about customers feedback,pls read below article:
VPECKER Easydiag Scanner Wireless Bluetooth Feedback
没有评论:
发表评论